BEST 7 TOOLS FOR UX DESIGN PROTOTYPING

We know tools and software like Adobe Illustrator, Photoshop, and InDesign for designing creations like logos, and brand identities. But they’re only the beginning of the journey in learning about the tools for designing applications and website prototypes. 


With this guide, we hope it makes it fundamentally easier to find the best software to create your own digital prototypes. Businesses will commonly use prototyping to instantly confirm their ideas, which will then help create solutions that will allow for more human-centered design. Regardless, building and designing a product requires a lot of time, effort, and money.


Having the tools for App prototyping helps clients and designers collaborate to create better content more efficiently. 


Now that we know how useful web and app prototyping is, what are some of the best tools?

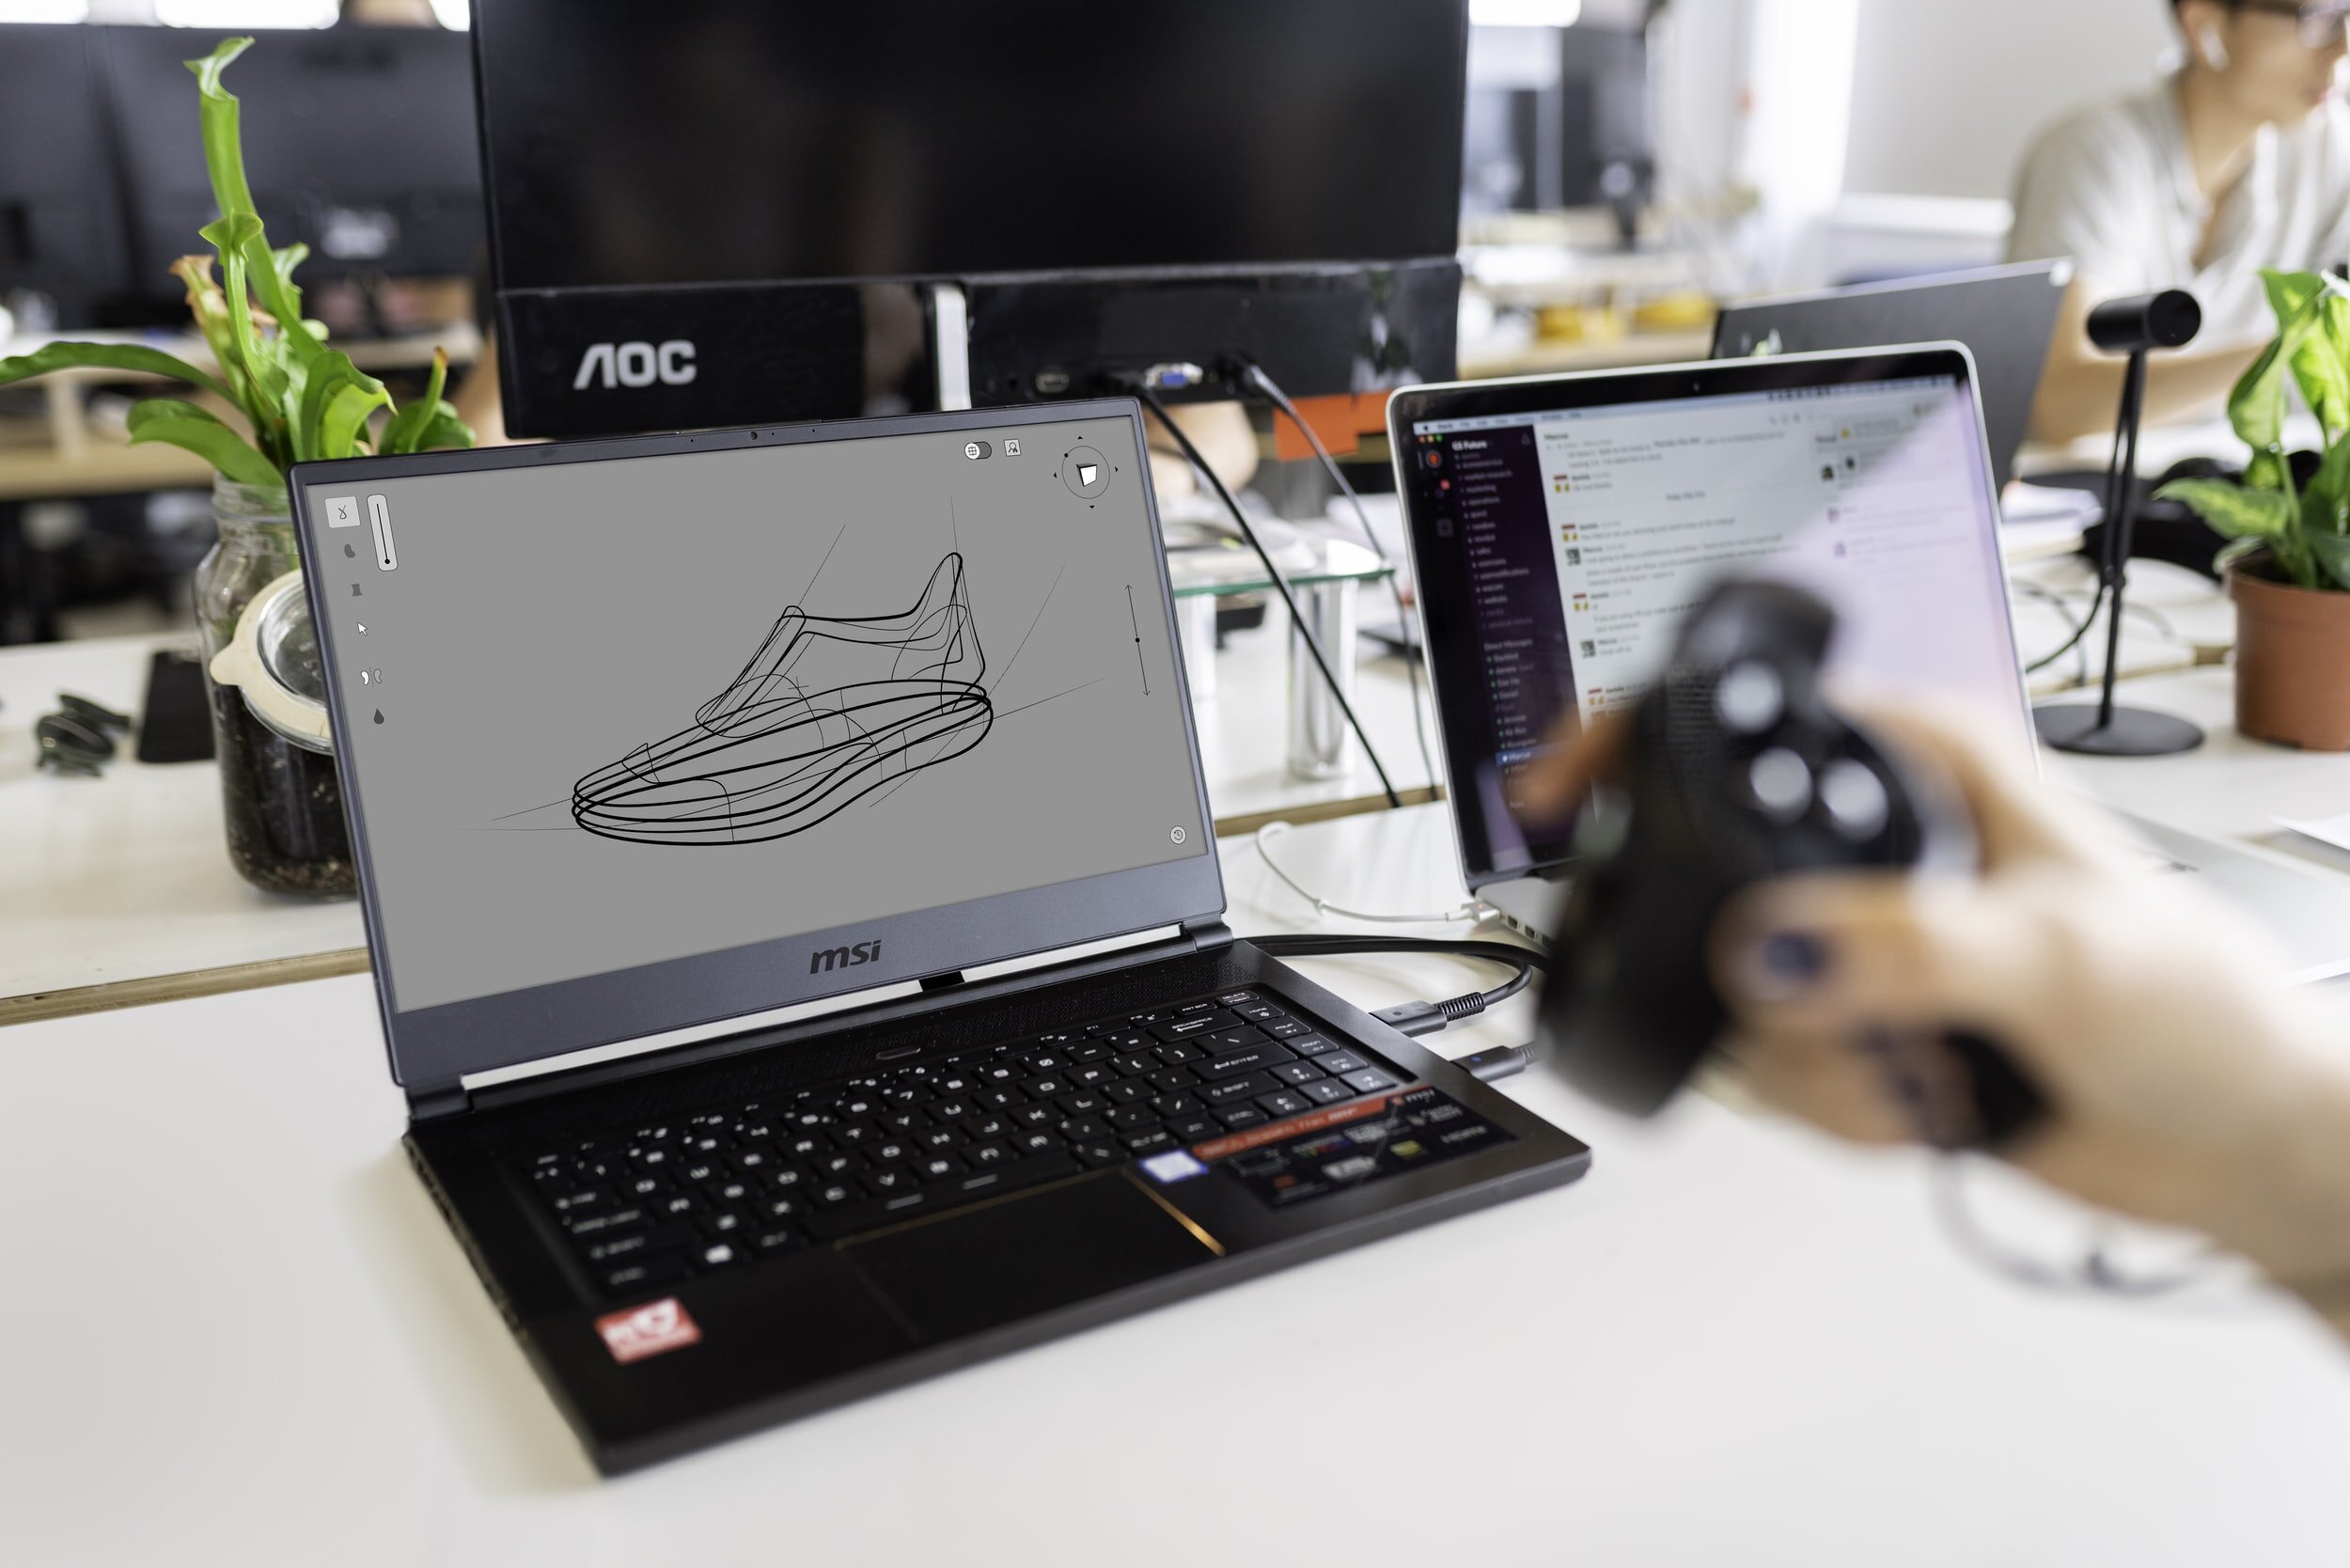
To start, prototyping tools are tools that assist in quickening the product development process by making it more effective and efficient. Creating an app prototype is step one to an idea, and it helps you visualize the real idea.


Making your prototypes interactive helps give a closer perspective to what the final product will look like. App prototypes will help:


  • Lowering the overall development period

  • Ensures that both the stakeholder and user have the same vision

  • Allows for you to gather valuable feedback

  • Brings an idea to life


Here are the best 7 UX tools:

There are a countless number of prototyping tools that are out there today. While utilizing UX prototyping tools your main goal is to please both your team and the client. Including a prototyping tool in the design process will help with real-time collaboration.


1.   InVision: Design Better. Faster. Together.

  • Allows for easy efficient integration with additional design tools

  • Cross-media capabilities

  • Responsive design benefits

  • Offers the means for creating and presenting mood and brand boards, galleries and style guides.

  • InVision provides the features to allow for virtual communication with a project account for remote work

  • Ability to save old versions of previous designs to be referenced if needed

  • Good for high-fidelity prototyping


2.   Axure RP (Rapid Prototyping): Powerful Prototyping and Developer Handoff

  • Offers the ability to prototype with simple geometric shapes, texts and headers

  • Axure is equipped with features that support all kinds of interaction (like complex, condition and gesture)

  • Ability to test your prototype on your mobile device

  • A tool that combines prototypes, diagrams and specification

  • No need to write code

  • Good for low-fidelity prototyping


3.   Marvel: The All-in-One platform powering design

  • Allows for easy integration with third party sites like Google Drive or Dropbox

  • Within Marvel, you can edit images

  • Includes 8 different project bases to kick off their prototype

  • Known for being a knowledge hub with tutorials and blogs accessible through the program

4.   Adobe XD: Design, Prototype, Experience

  • Included in your regular creative cloud subscription

  • Has features for coediting (beta), hover triggers, document history and component states

  • Utilizes Adobe XD’s Repeat Grid feature

  • You can switch back and forth from design to prototype right from the app

  • Realtime client comments and feedback


5.   Sketch: The Best Products Start with sketch

  • Easy seamless transitions between all screen sizes

  • Utilizes Vector shapes for easy adaptability with different styles, sizes, and layouts

  • Cloud interface to allow for easy sharing capabilities


6.   Mockplus: Design, Prototype, Collaborate & Handoff Faster

  • Allows users to convert their ideas into clickable web or mobile app prototypes with high end components like UI libraries, icons, and templates

  • Full vivid interactions and animation capabilities

  • 8 easy prototype testing methods


7.   Balsamiq: Brainstorming and Wireframing rapidly

  • Allows for you to hand sketch ideas onto a notepad or whiteboard for a unique design experience

  • Countless numbers of build in hand-written styles of UI components which will let you focus the structure of the app on a macro-level which helps with limiting the amount of idle time

In summary, there are so many different options for web and mobile design prototyping, and we hope that this helped you decide which application to go with. However, if you need help deciding, reach out to our experts at ISU Corp!


How To Add MegaData Tags to Sharepoint Documents

While several SharePoint users store content in directories and categorize them, metadata is another way of doing this. Metadata may be several types of data, such as a location, date, or a specific type of content (ex. a sales contract or sales proposal). You can centrally monitor the metadata and arrange it in a way that makes sense for your company.

Instead of folders, why use metadata? SharePoint is all about 'findability' and it makes searches simpler by incorporating metadata tags. It is troublesome to use a nested folder structure since the structure is only known to the person who has built it. In addition, files buried in folders can not be sorted or filtered. Folders are best because they are a fast way to store data and files. For smaller teams that do not need tight control over their documents, they are fine to use.

Metadata enables documents based on their properties to be filtered, clustered, and sorted. In addition, it organizes documents in a presentable manner, which works well for big teams that need the ability to locate documents quickly, and you have plenty of people downloading, uploading, and accessing files at any time.

There's this idea that tagging multiple files with metadata in SharePoint is complicated and time-consuming, but SharePoint actually does this very easily. Many files can be labelled and tagged all at once.

Let’s get started.

Step 1

Begin by uploading some documents to a library. Drag and drop the files into the library or click the ‘Upload’ tab to do so.


Step 2

Click on ‘Quick Edit’ once the documents are uploaded.


Step 3

Your documents should now appear in an Excel like table. To add a column to apply the tag, click on the ‘+’ icon and then select ‘More Column Types’.


Step 4

A modal window will open where then you will enter a name for the column and select ‘Managed Metadata’.


Step 5

Scroll down in the modal window until you reach the ‘Term Set Settings’ section. If you already have managed term sets entered, you can select that option and select a term from the list then click ‘Ok’ when you’re done adding terms. Otherwise select ‘Customize your term set’.


Step 6

Now we can add and apply the term all at once to several documents! Select the documents to which you want to add a tag by either clicking ‘Shift + Left Mouse’ to select a group of cells at once or by clicking ‘Ctrl + Left Mouse’ to select cells to be added individually.


Step 7

Click on the tag icon once you have selected your cells. Select ‘Add these terms to all selected fields’ and click the tag icon beside the textbox. Highlight the term you would like to apply and click ‘Select’. Click ‘Ok’ when you’re finished.


Step 8

Tags should be applied in the table. Click ‘Done’ and you’re finished!


In SharePoint, metadata terms are very useful for making it easier to locate documents. Navigating the metadata helps users to use a navigation tree to browse and find content in lists and libraries. Key filters, which function in conjunction with the navigation tree, can also be added to refine the list of items shown.

By default, on most pages, navigation and filtering of metadata is enabled. If your site does not have it available, you can allow it on the Site Features pages for your site. 

SharePoint, especially when using the metadata tagging feature, is a powerful document management tool.

For more information on how you can make your business more efficient with software, feel free to reach out to our team at ISU Corp.


Your Guide to the "Video Intro Maker App" on YouTube

The Video Intro Maker App was created for iPhone users that enjoy creating quality video animations for YouTube, business, academic, gaming, and many other types of videos. The app makes it simple for users to go above and beyond with their creativity, without the need for any professional intro maker software.

About Video Intro Maker App for YouTube Pro

This YouTube intro maker app has been considered the best app when it comes to creating high-quality videos. The app is very user-friendly and it offers many different templates, animation effects, unique fonts, and sound effect options.

The app is not free for the public, it is a subscription-based intro app that allows users to save their videos with or without watermark and share it with their friends and family.

Templates

YouTube Video Intro Maker offers a variety of unique templates and pre-sets to choose from which are organized in more than 20 different categories such as animations, food, business, food, and more. Users have access to templates from Unsplashed and Pixabay and they can also select a video from their phone library.

Customizable Text

After selecting the perfect video, users have the option to insert up to three text boxes to customize their video. There is a big variety for font style and text colour to choose from, and users can play around with the text boxes with the transitions that the app offers.

Background Music

The app offers more than 15 music genres for users to choose from to make their videos more captivating and interesting. There is a list of different music genres that are offered and users can also opt from using any audio from the phone library.

Save and Share

After editing and formatting the video, users have the option to copy and share the video with friends and family on email, Facebook, or Apple Photos library.

If you are interested in learning more or want to create your own app, contact us today!