HOW TO MODERNIZE YOUR SOFTWARE WITH REENGINEERING

It’s inevitable that software will need some kind of update in its life span. Most of the time software just requires minor updates here and there. However, once in a while it will require extensive reengineering of the software from anything minor to a complete architectural overhaul.

We have helped customers overcome many scenarios involving software and will continue to do so.

At ISU Corp, all we need to reconfigure your software solution is your application and our experts’ expertise. We will find a solution that works best for your company.

We will retrieve important components of your current solution, and then take those details and brainstorm to get an idea of what kind of structure we need to rebuild. Our goal while we reconstruct a solution, is to maintain the base foundation of the original configuration.


Now the approach we use for each project includes 6 steps:


1. Document Analysis

We use this stage to review the documents when they’re available to make sure that both parties involved understand the architecture of the old solution before getting started.

We will also review the documents to confirm accuracy to minimize the chance for encountering any complications.


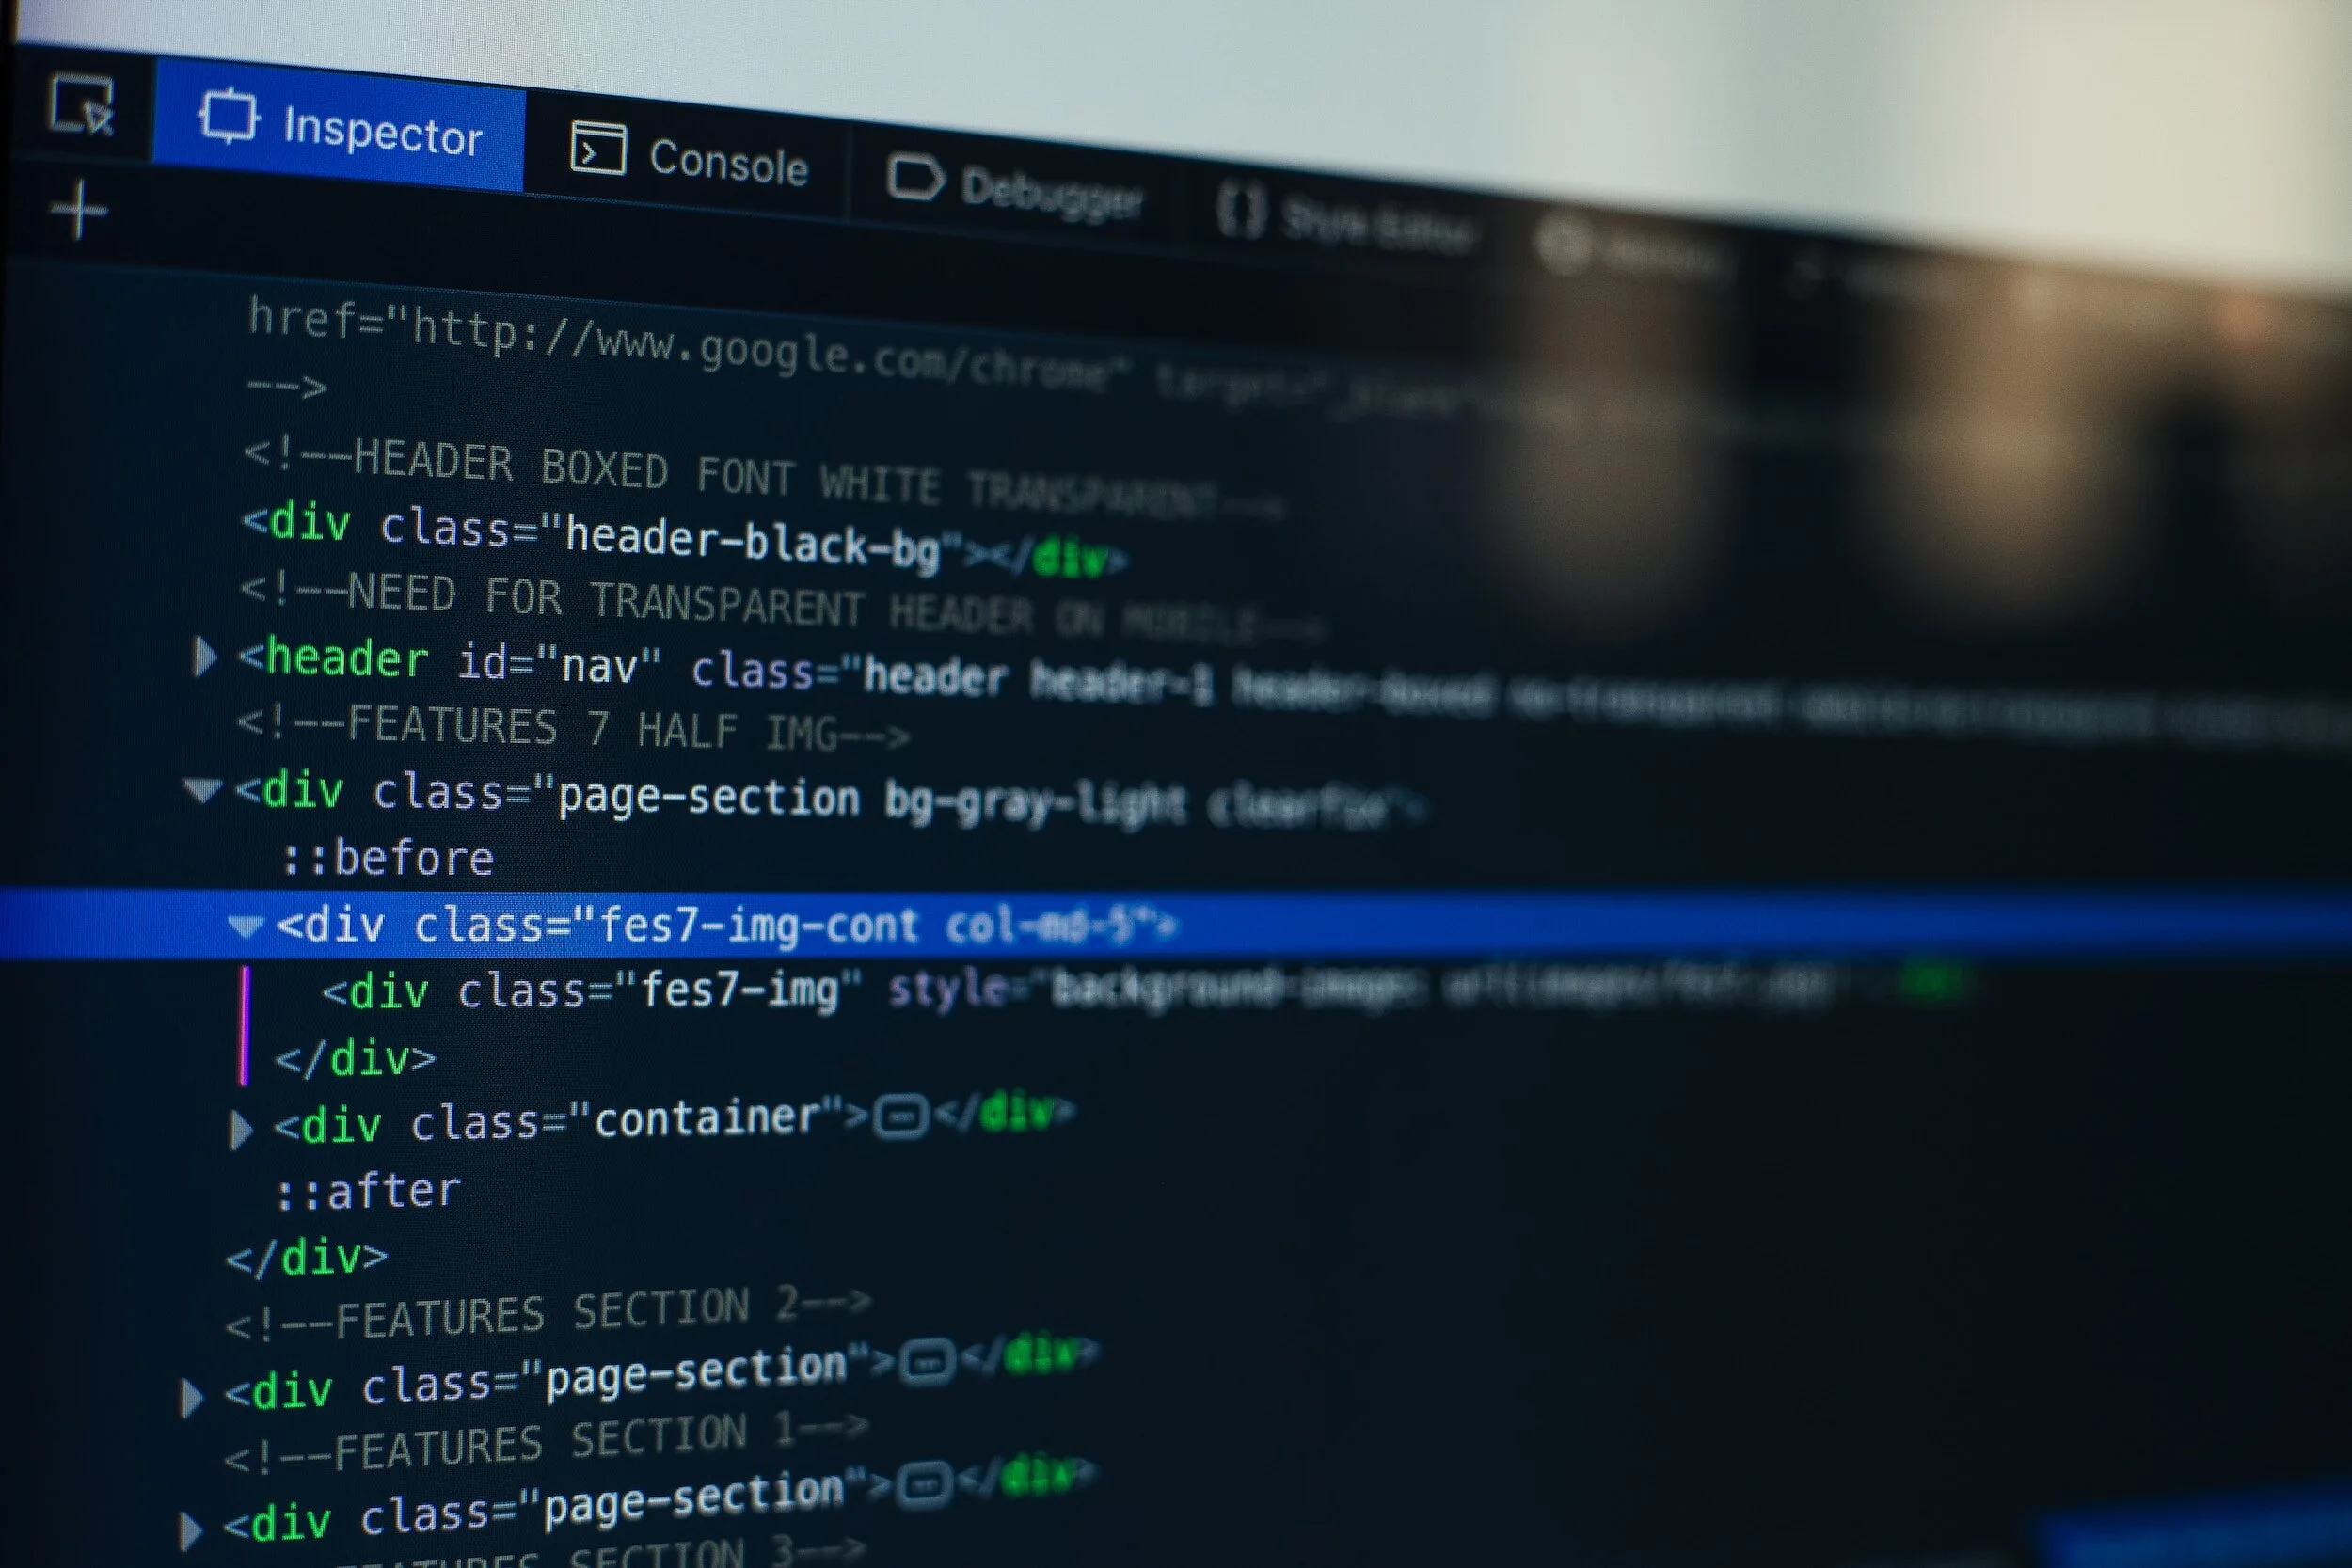
2. Mass Code Conversion

Each and every product we work on is different. So, if it’s convenient we will apply a code conversion to your solution.

Much of the modern software operations are radically different from the older versions, so it is a necessity that we pay close attention to the business logic, presentation, and data access layers.

This is to be positive that your solution has excellent functional integrity.


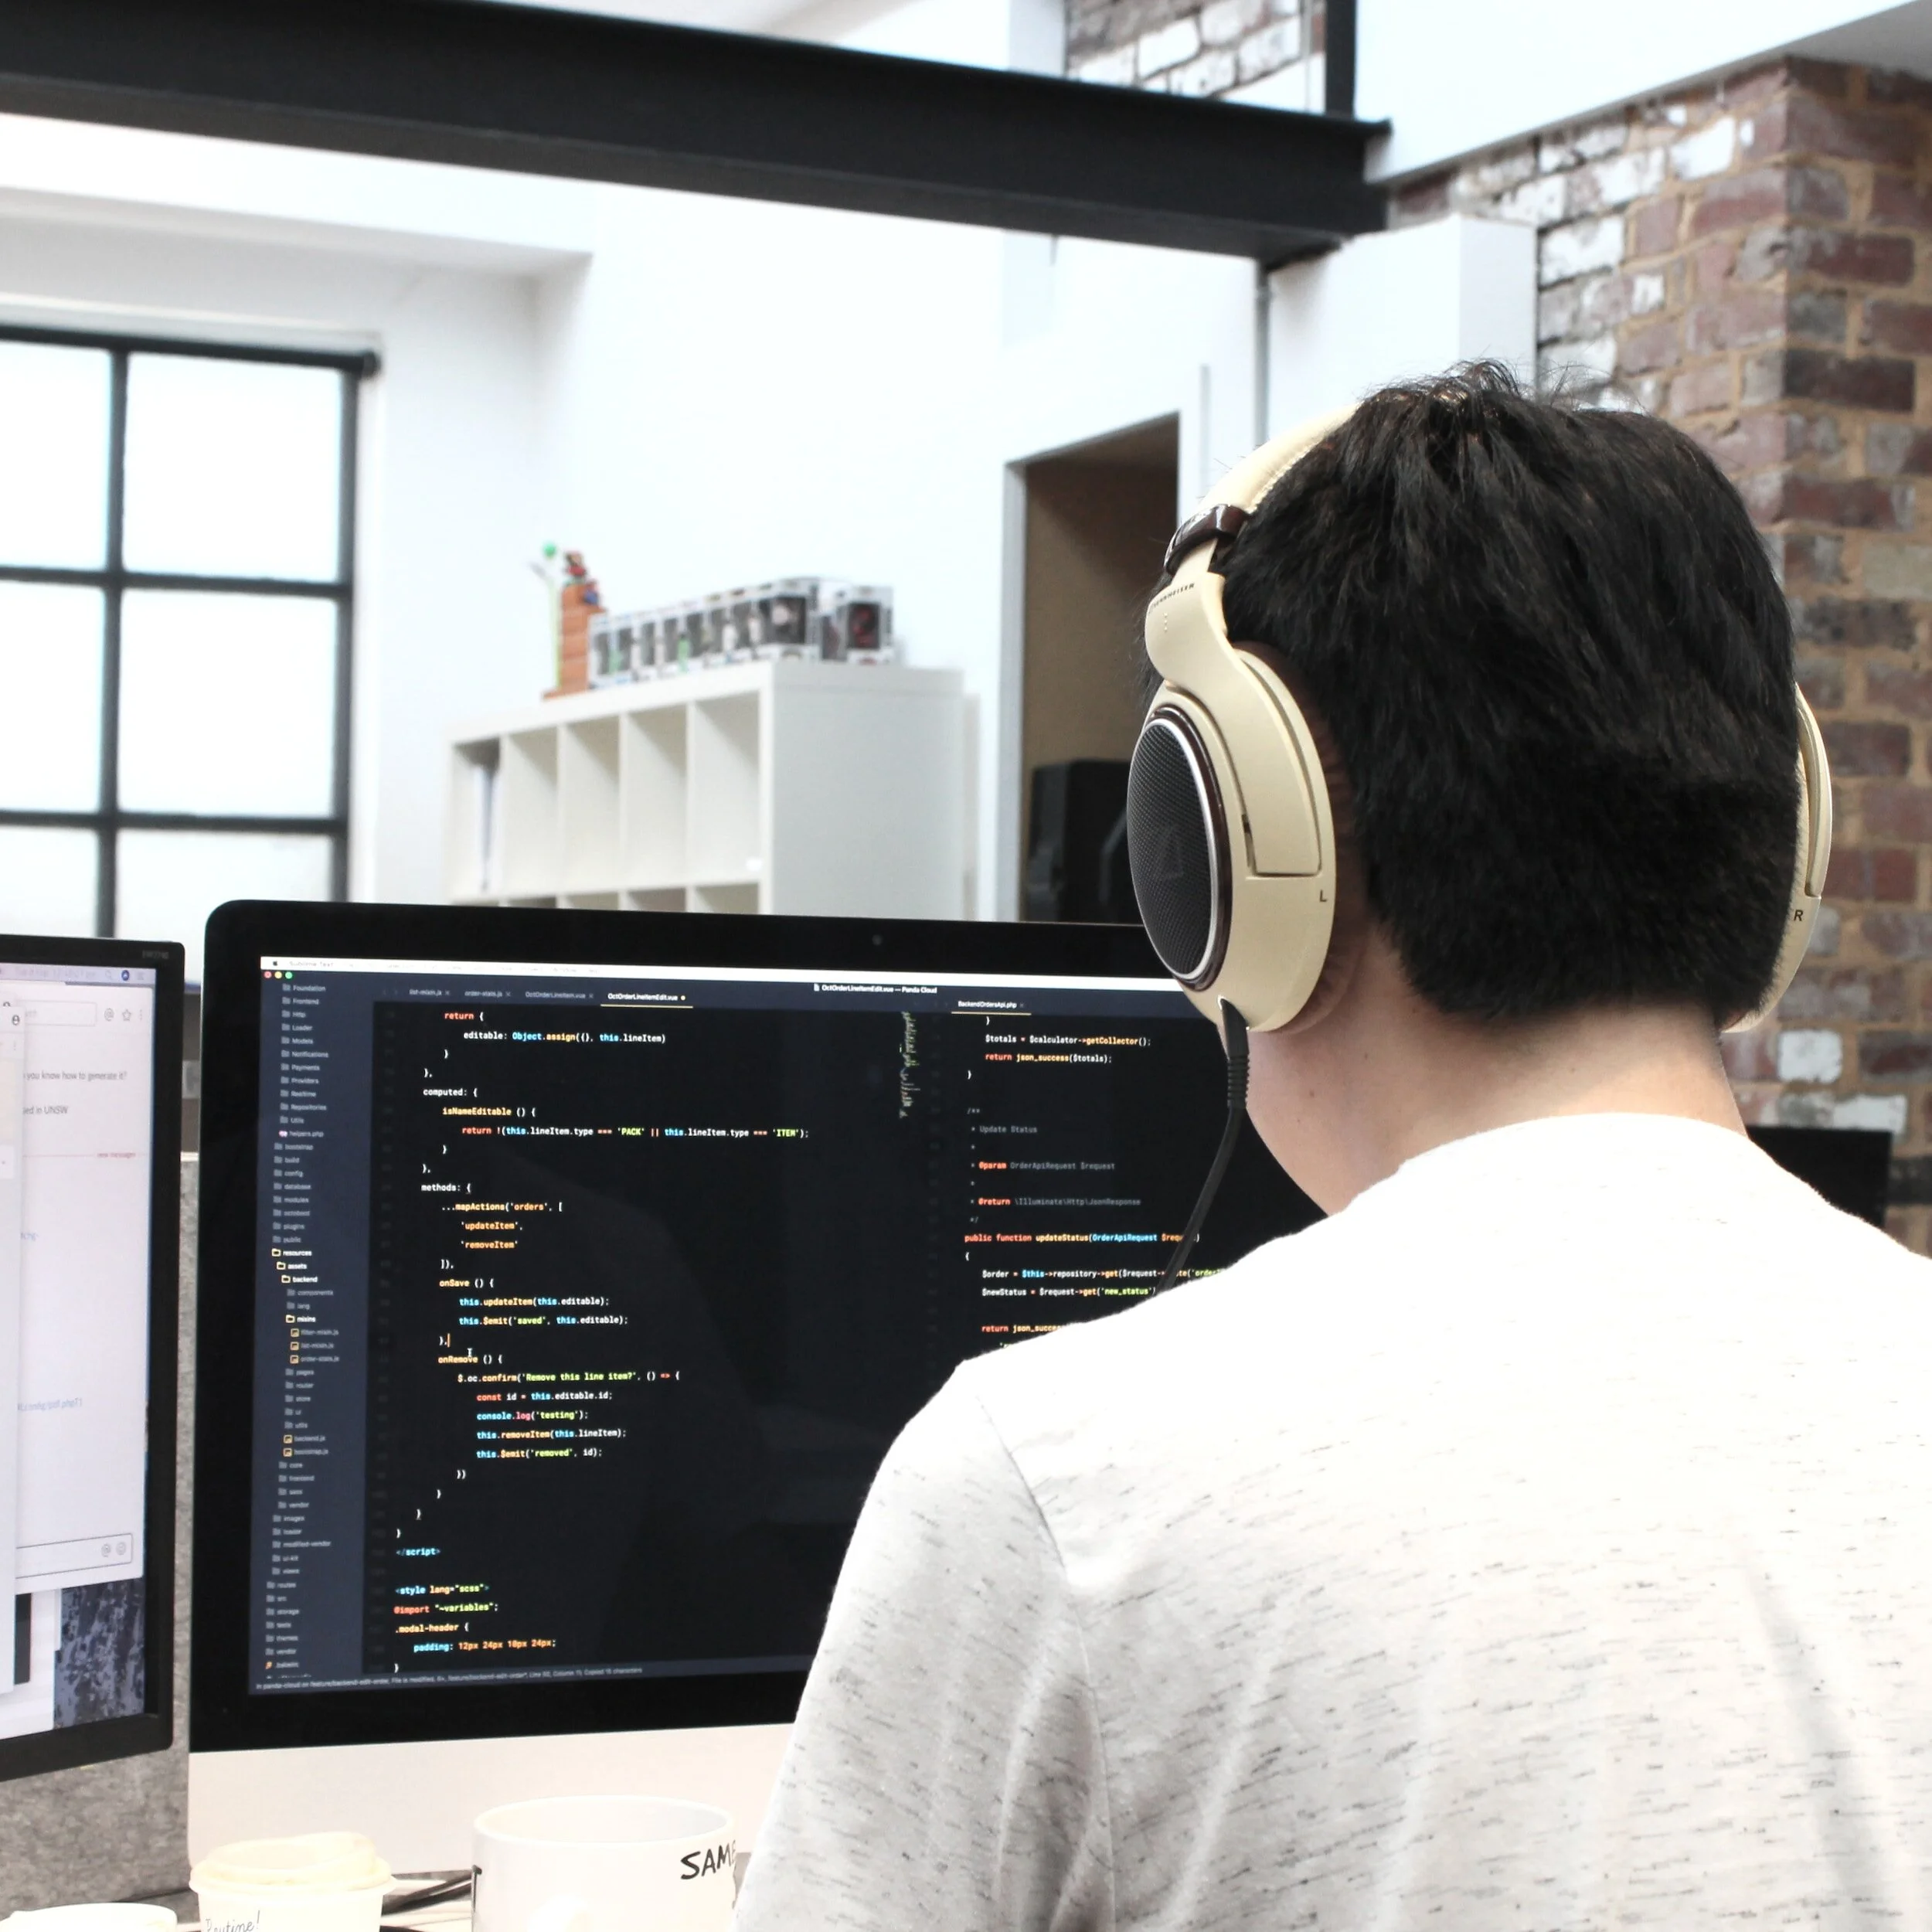
3. Performance Tuning

We use this stage to make sure that your solution runs well with the new parts and software. This is also where we can look for problems to fix or eliminate.


4. Architectural Analysis

We will then evaluate the structure of the solution to check for weaknesses and discover solutions to fix and strengthen the foundation.


5. Security Analysis

Next, we will look over what your solution needs to be secure and how it fits with the old security systems, and what needs to be done to make it function better with the new one.


6. Error Handling

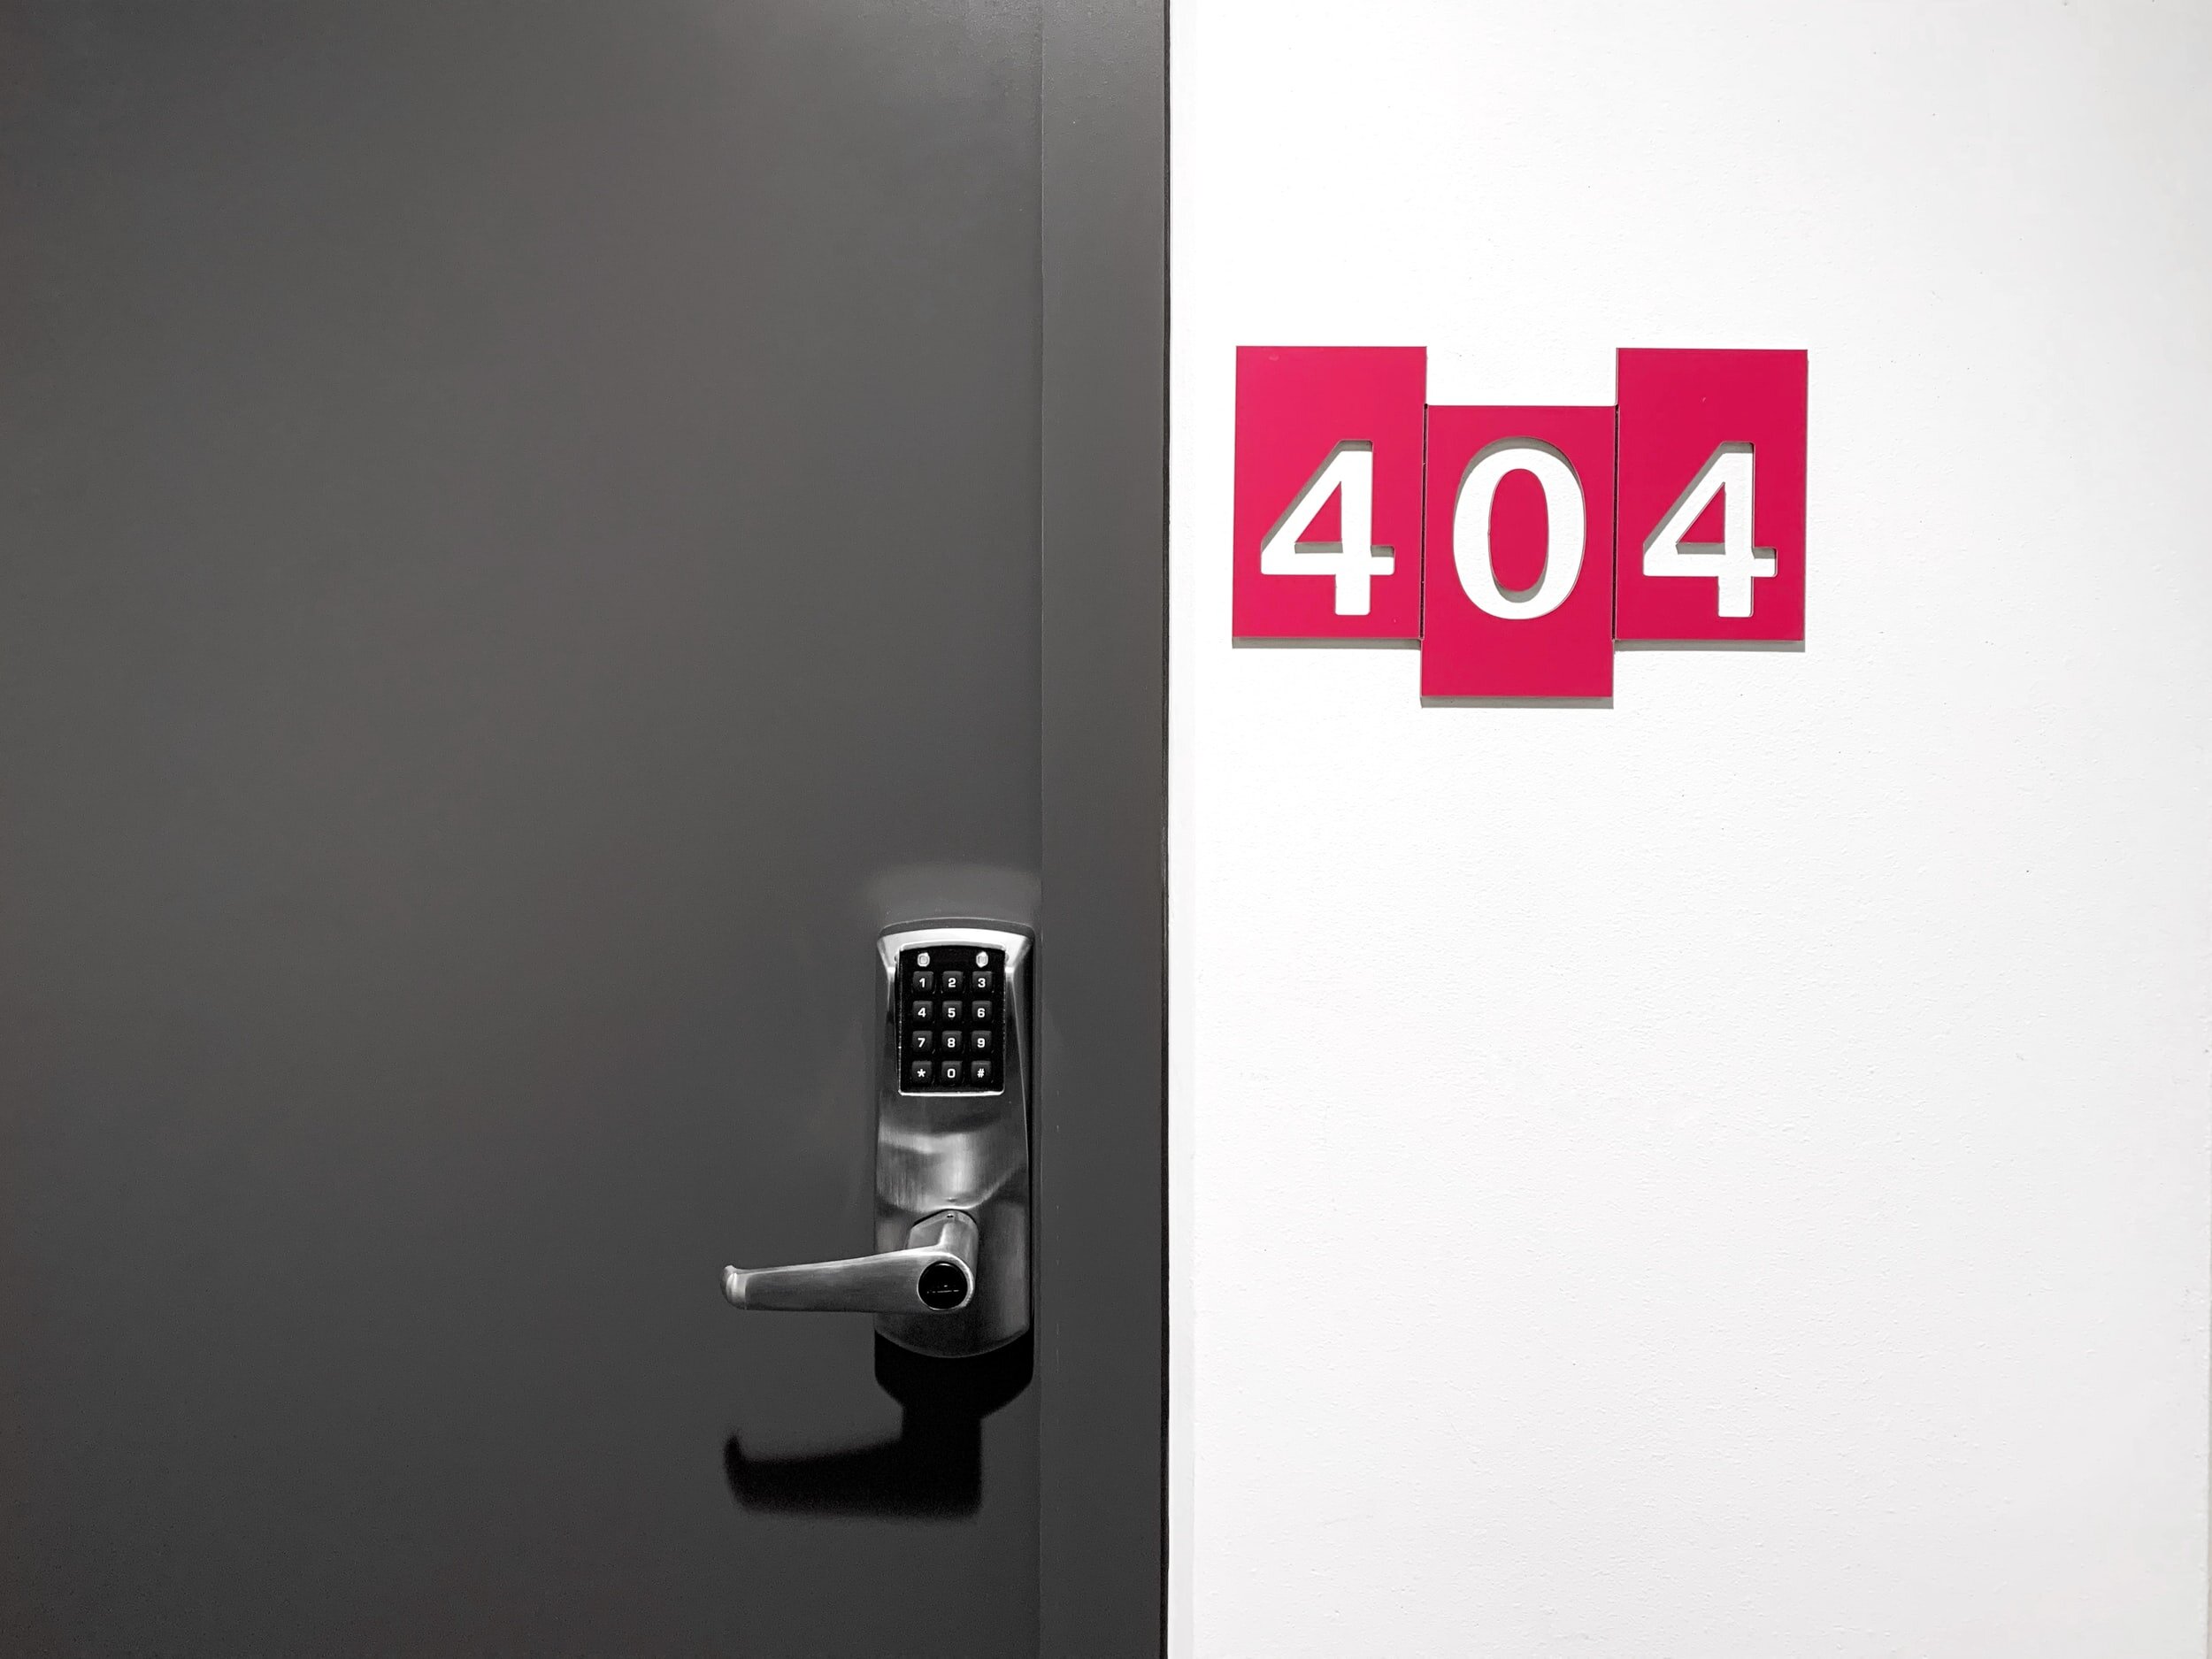
Once everything is almost done, we will check one last time for any errors that may have come up, so they can be eliminated.

We will then optimize the solution to fix the errors, so it runs more efficiently.

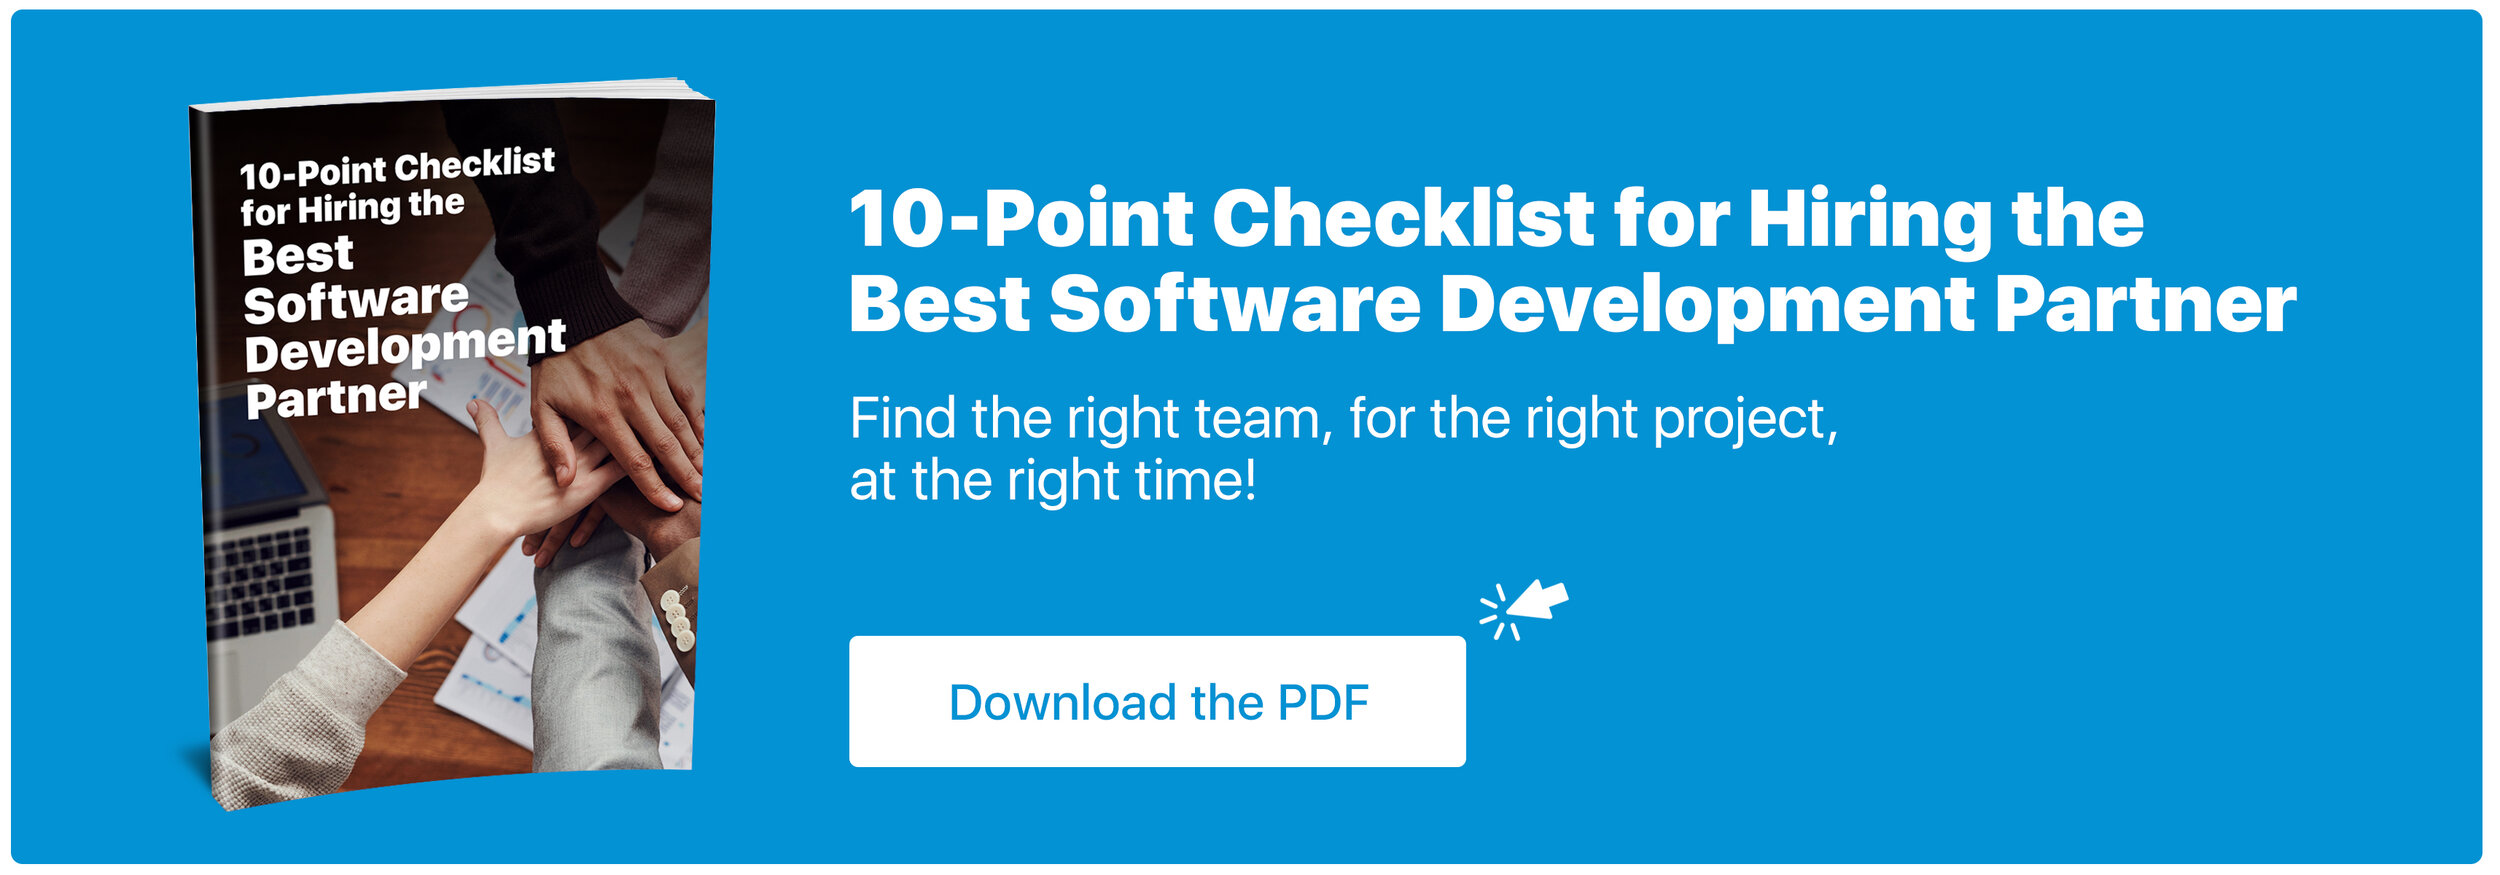
We hope that you’ll look into modernizing and enhancing your software. If you have any questions, reach out to our experts at ISU Corp!


BEST 7 TOOLS FOR UX DESIGN PROTOTYPING

We know tools and software like Adobe Illustrator, Photoshop, and InDesign for designing creations like logos, and brand identities. But they’re only the beginning of the journey in learning about the tools for designing applications and website prototypes. 


With this guide, we hope it makes it fundamentally easier to find the best software to create your own digital prototypes. Businesses will commonly use prototyping to instantly confirm their ideas, which will then help create solutions that will allow for more human-centered design. Regardless, building and designing a product requires a lot of time, effort, and money.


Having the tools for App prototyping helps clients and designers collaborate to create better content more efficiently. 


Now that we know how useful web and app prototyping is, what are some of the best tools?

To start, prototyping tools are tools that assist in quickening the product development process by making it more effective and efficient. Creating an app prototype is step one to an idea, and it helps you visualize the real idea.


Making your prototypes interactive helps give a closer perspective to what the final product will look like. App prototypes will help:


  • Lowering the overall development period

  • Ensures that both the stakeholder and user have the same vision

  • Allows for you to gather valuable feedback

  • Brings an idea to life


Here are the best 7 UX tools:

There are a countless number of prototyping tools that are out there today. While utilizing UX prototyping tools your main goal is to please both your team and the client. Including a prototyping tool in the design process will help with real-time collaboration.


1.   InVision: Design Better. Faster. Together.

  • Allows for easy efficient integration with additional design tools

  • Cross-media capabilities

  • Responsive design benefits

  • Offers the means for creating and presenting mood and brand boards, galleries and style guides.

  • InVision provides the features to allow for virtual communication with a project account for remote work

  • Ability to save old versions of previous designs to be referenced if needed

  • Good for high-fidelity prototyping


2.   Axure RP (Rapid Prototyping): Powerful Prototyping and Developer Handoff

  • Offers the ability to prototype with simple geometric shapes, texts and headers

  • Axure is equipped with features that support all kinds of interaction (like complex, condition and gesture)

  • Ability to test your prototype on your mobile device

  • A tool that combines prototypes, diagrams and specification

  • No need to write code

  • Good for low-fidelity prototyping


3.   Marvel: The All-in-One platform powering design

  • Allows for easy integration with third party sites like Google Drive or Dropbox

  • Within Marvel, you can edit images

  • Includes 8 different project bases to kick off their prototype

  • Known for being a knowledge hub with tutorials and blogs accessible through the program

4.   Adobe XD: Design, Prototype, Experience

  • Included in your regular creative cloud subscription

  • Has features for coediting (beta), hover triggers, document history and component states

  • Utilizes Adobe XD’s Repeat Grid feature

  • You can switch back and forth from design to prototype right from the app

  • Realtime client comments and feedback


5.   Sketch: The Best Products Start with sketch

  • Easy seamless transitions between all screen sizes

  • Utilizes Vector shapes for easy adaptability with different styles, sizes, and layouts

  • Cloud interface to allow for easy sharing capabilities


6.   Mockplus: Design, Prototype, Collaborate & Handoff Faster

  • Allows users to convert their ideas into clickable web or mobile app prototypes with high end components like UI libraries, icons, and templates

  • Full vivid interactions and animation capabilities

  • 8 easy prototype testing methods


7.   Balsamiq: Brainstorming and Wireframing rapidly

  • Allows for you to hand sketch ideas onto a notepad or whiteboard for a unique design experience

  • Countless numbers of build in hand-written styles of UI components which will let you focus the structure of the app on a macro-level which helps with limiting the amount of idle time

In summary, there are so many different options for web and mobile design prototyping, and we hope that this helped you decide which application to go with. However, if you need help deciding, reach out to our experts at ISU Corp!


How To Add MegaData Tags to Sharepoint Documents

While several SharePoint users store content in directories and categorize them, metadata is another way of doing this. Metadata may be several types of data, such as a location, date, or a specific type of content (ex. a sales contract or sales proposal). You can centrally monitor the metadata and arrange it in a way that makes sense for your company.

Instead of folders, why use metadata? SharePoint is all about 'findability' and it makes searches simpler by incorporating metadata tags. It is troublesome to use a nested folder structure since the structure is only known to the person who has built it. In addition, files buried in folders can not be sorted or filtered. Folders are best because they are a fast way to store data and files. For smaller teams that do not need tight control over their documents, they are fine to use.

Metadata enables documents based on their properties to be filtered, clustered, and sorted. In addition, it organizes documents in a presentable manner, which works well for big teams that need the ability to locate documents quickly, and you have plenty of people downloading, uploading, and accessing files at any time.

There's this idea that tagging multiple files with metadata in SharePoint is complicated and time-consuming, but SharePoint actually does this very easily. Many files can be labelled and tagged all at once.

Let’s get started.

Step 1

Begin by uploading some documents to a library. Drag and drop the files into the library or click the ‘Upload’ tab to do so.


Step 2

Click on ‘Quick Edit’ once the documents are uploaded.


Step 3

Your documents should now appear in an Excel like table. To add a column to apply the tag, click on the ‘+’ icon and then select ‘More Column Types’.


Step 4

A modal window will open where then you will enter a name for the column and select ‘Managed Metadata’.


Step 5

Scroll down in the modal window until you reach the ‘Term Set Settings’ section. If you already have managed term sets entered, you can select that option and select a term from the list then click ‘Ok’ when you’re done adding terms. Otherwise select ‘Customize your term set’.


Step 6

Now we can add and apply the term all at once to several documents! Select the documents to which you want to add a tag by either clicking ‘Shift + Left Mouse’ to select a group of cells at once or by clicking ‘Ctrl + Left Mouse’ to select cells to be added individually.


Step 7

Click on the tag icon once you have selected your cells. Select ‘Add these terms to all selected fields’ and click the tag icon beside the textbox. Highlight the term you would like to apply and click ‘Select’. Click ‘Ok’ when you’re finished.


Step 8

Tags should be applied in the table. Click ‘Done’ and you’re finished!


In SharePoint, metadata terms are very useful for making it easier to locate documents. Navigating the metadata helps users to use a navigation tree to browse and find content in lists and libraries. Key filters, which function in conjunction with the navigation tree, can also be added to refine the list of items shown.

By default, on most pages, navigation and filtering of metadata is enabled. If your site does not have it available, you can allow it on the Site Features pages for your site. 

SharePoint, especially when using the metadata tagging feature, is a powerful document management tool.

For more information on how you can make your business more efficient with software, feel free to reach out to our team at ISU Corp.